6 Reasons Your DIY Waxing Isn’t Working (And How to Fix It)
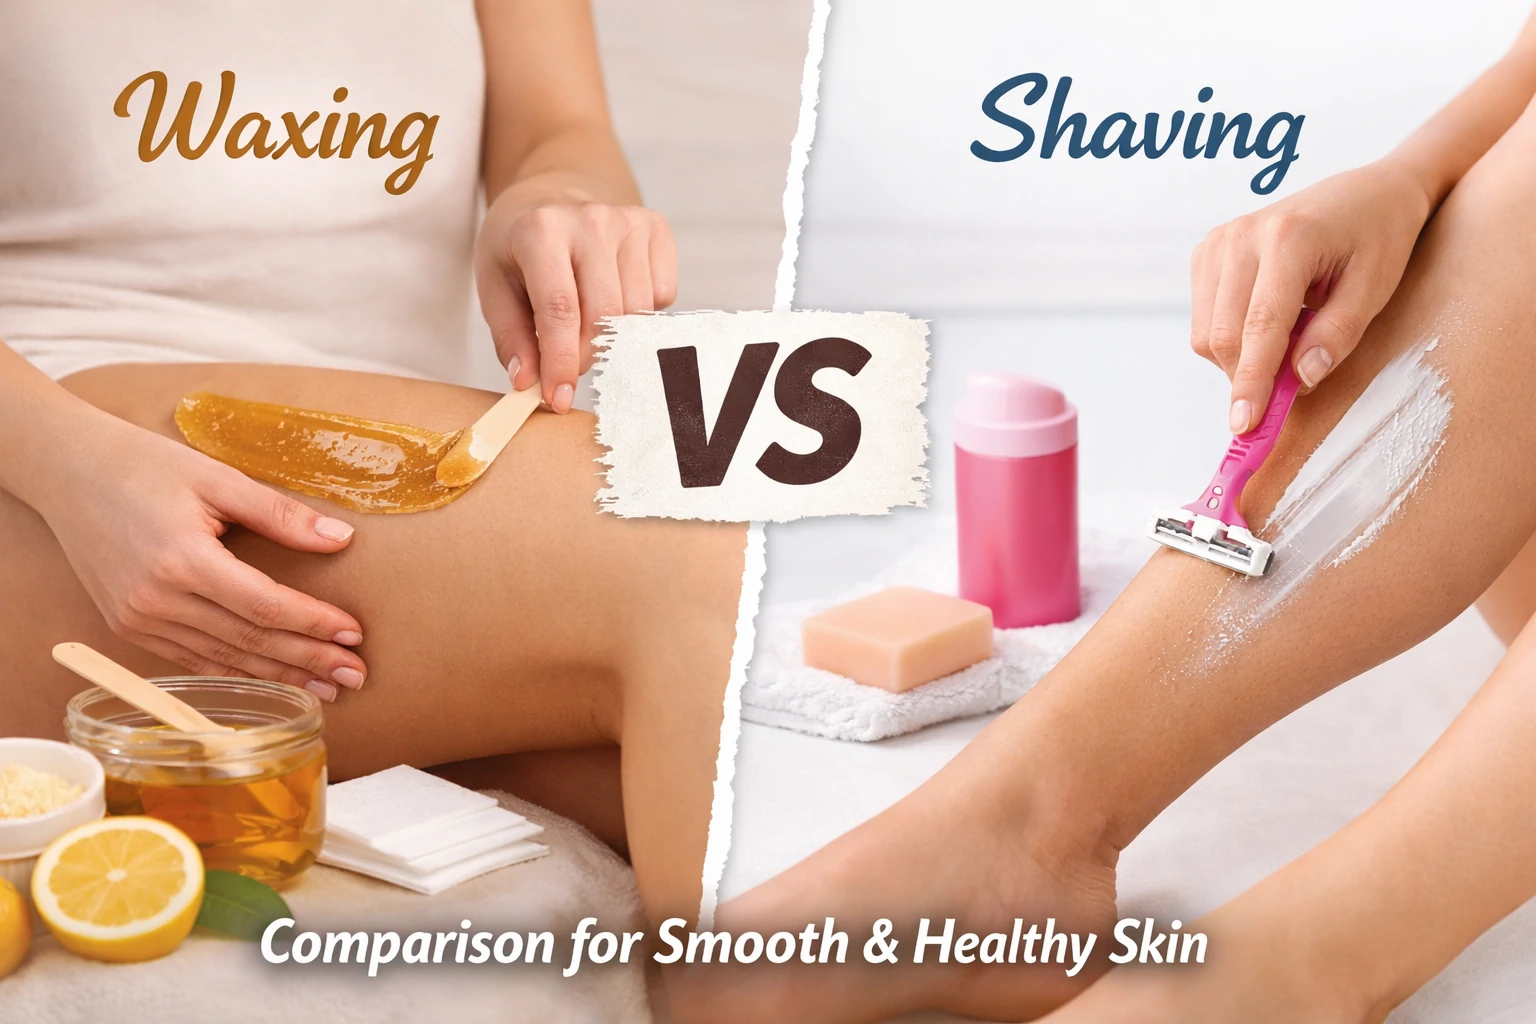
DIY waxing at home has become a practical choice for those who value privacy and cost efficiency over salon visits. With today’s widely available waxing products, achieving smooth results is possible—but only when proper technique is applied. From a dermatology perspective, effective waxing relies on correct skin preparation and precise application to lift hair from the follicle without triggering irritation.
When waxing fails, hair often breaks instead of being fully removed. This issue is rarely caused by the product itself. Experts agree that most problems stem from technical mistakes during application, especially related to skin condition and pulling direction.
Below are the most common factors that prevent successful at-home waxing:
- Hair Length Matters: Hair that is too short cannot be properly gripped by the wax, reducing removal efficiency.
- Wax Temperature Control: Wax that is too hot or too cool loses optimal adhesion, affecting performance and comfort.
- Skin Cleanliness Is Critical: Oil, lotion, or residue on the skin creates a barrier that weakens wax adhesion.
Understanding these factors helps you achieve cleaner, longer-lasting DIY waxing results—without unnecessary skin stress.
1. Your Hair Isn’t the Right Length
Hair length is one of the most decisive factors in successful DIY waxing. For wax to grip the hair shaft effectively, the hair should be at least ¼ inch (around 6 mm) long. Anything shorter makes adhesion weak, causing the hair to snap instead of being removed from the root.
That said, longer isn’t better. Hair that grows beyond the ideal length increases discomfort and raises the risk of skin trauma. Overgrown hair is also more likely to break at the surface, leading to patchy results and faster regrowth.
As a practical benchmark, aim for hair about the length of a grain of uncooked rice. Skincare professionals generally recommend waiting at least six weeks after shaving before waxing. If the hair exceeds ¾ inch (2 cm), lightly trimming beforehand can significantly reduce pain while allowing the wax to work at peak efficiency.
Getting the length right creates cleaner results, smoother skin, and a more controlled at-home waxing experience.
2. You Aren’t Waxing Properly
Poor results often come down to incorrect waxing technique—specifically application and removal direction. From a skin science standpoint, effective waxing depends on how well you work with the hair follicle. Wax should always be applied in the direction of hair growth, then removed quickly against it.
Speed matters more than most people realize. A slow or hesitant pull—common during at-home waxing—fails to generate enough force to remove hair from the root. Instead, the hair bends and snaps at the surface, leaving stubble and uneven results.
Before applying wax, take a moment to observe how your hair grows. This step is frequently overlooked but critical:
- Hair Growth Direction: Body hair doesn’t always grow in a uniform pattern.
- Area-Specific Patterns: Zones like the underarms often have multi-directional growth.
By adjusting your technique to match these patterns and pulling firmly with confidence, you reduce breakage and achieve smoother, longer-lasting waxing results at home.
3. Your Skin Isn’t Clean Enough
Sometimes waxing fails not because of the hair—but because of the skin. For wax to bond effectively, the skin surface must be free from oil, sweat, and skincare residue. Natural sebum, leftover lotion, or body oils create a barrier that weakens wax adhesion, especially when using cloth strip wax.
If you don’t have a dedicated pre-wax cleanser, a gentle soap is enough to remove buildup. What matters most is drying the skin completely afterward with a clean towel or cotton pad. Fully dry skin delivers two key benefits:
- Less Discomfort: Reduced friction helps minimize skin trauma and sensitivity.
- Better Wax Performance: Wax grips the hair shaft directly, without interference from moisture or residue.
Skincare experts strongly advise avoiding lotions, oils, or body creams before waxing. Taking a warm shower shortly beforehand can help soften the skin and relax the pores, making hair removal smoother and more effective.
Clean, dry skin is a non-negotiable foundation for successful at-home waxing results.
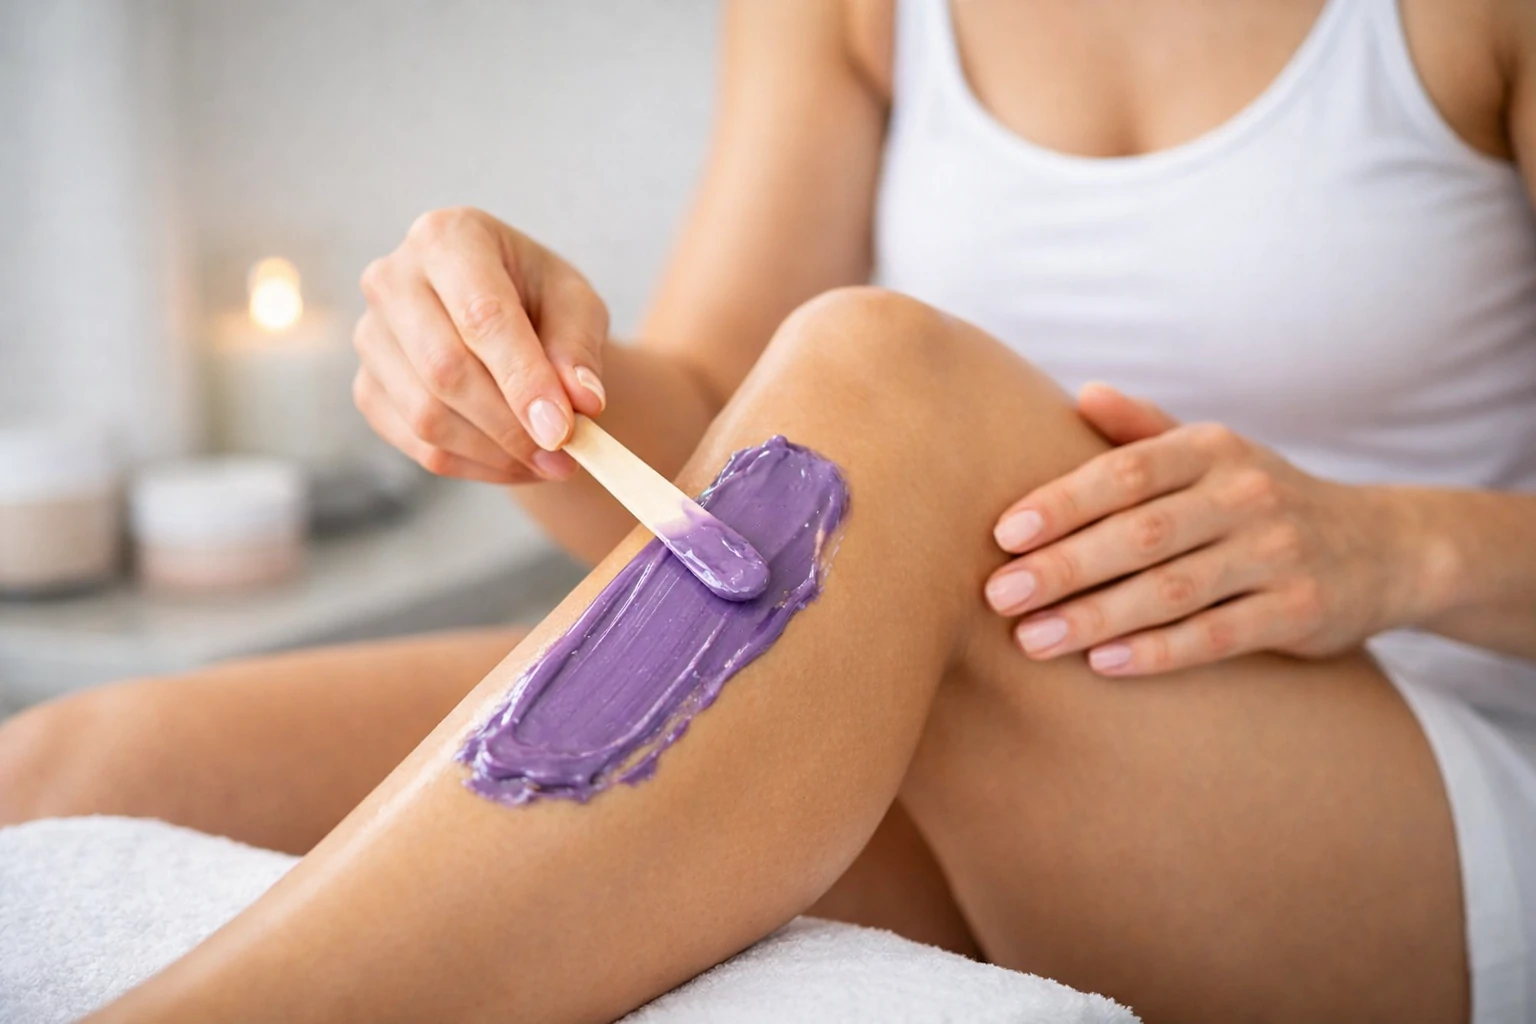
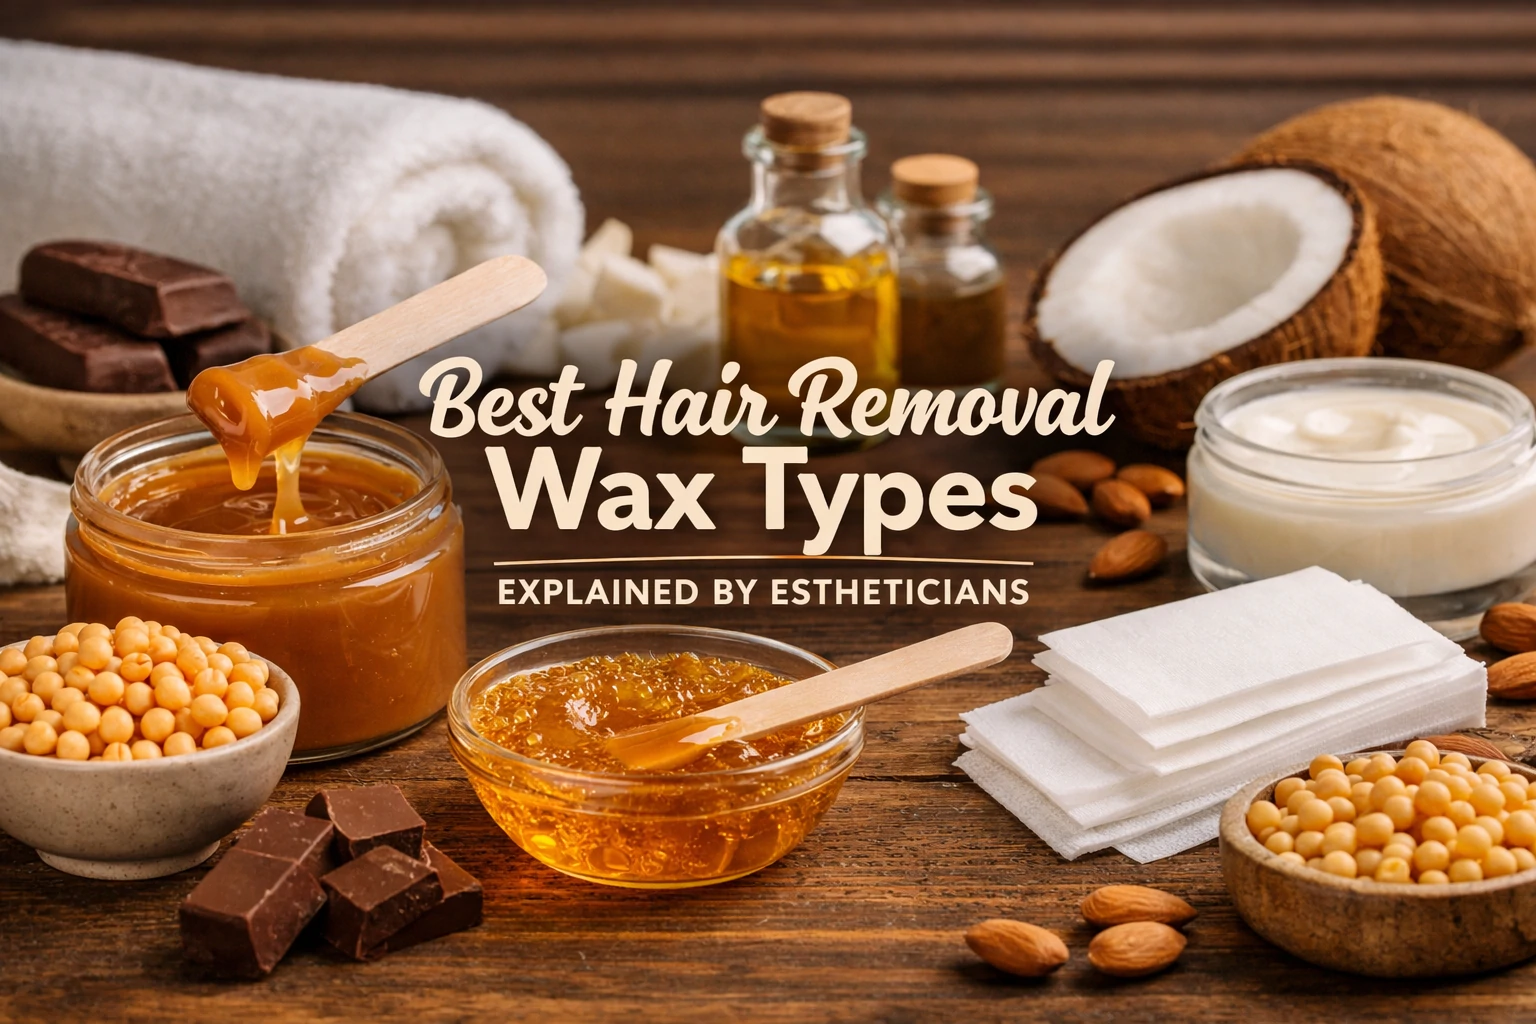
4. You’re Using the Wrong Type of Wax for Your Hair
Waxing results depend heavily on choosing a formula that matches your hair texture. Hard wax works best for thick, coarse hair because it grips firmly without sticking to the skin. Soft wax, which requires cloth strips, demands more precision. Applying it too thickly often lifts product residue instead of hair and may increase the risk of bruising or irritation.
Use these application guidelines for better control:
- Soft Wax: Apply a thin, even layer—just enough to coat the hair shaft, not the skin.
- Hard Wax: Spread to about the thickness of a coin so it fully encapsulates the hair. Allow it to cool until matte and firm before removal.
For pre-made wax strips, FACE FOUNDRIÉ expert Mikelle Brown warns that incorrect use can cause irritation. These strips perform best on fine hair areas like toes, but are less effective for bikini lines or legs. Always warm the strip between your palms to activate adhesion.
For consistent, professional-level results, a wax warmer is a smarter investment than relying on a microwave, as it keeps temperature stable throughout the session.
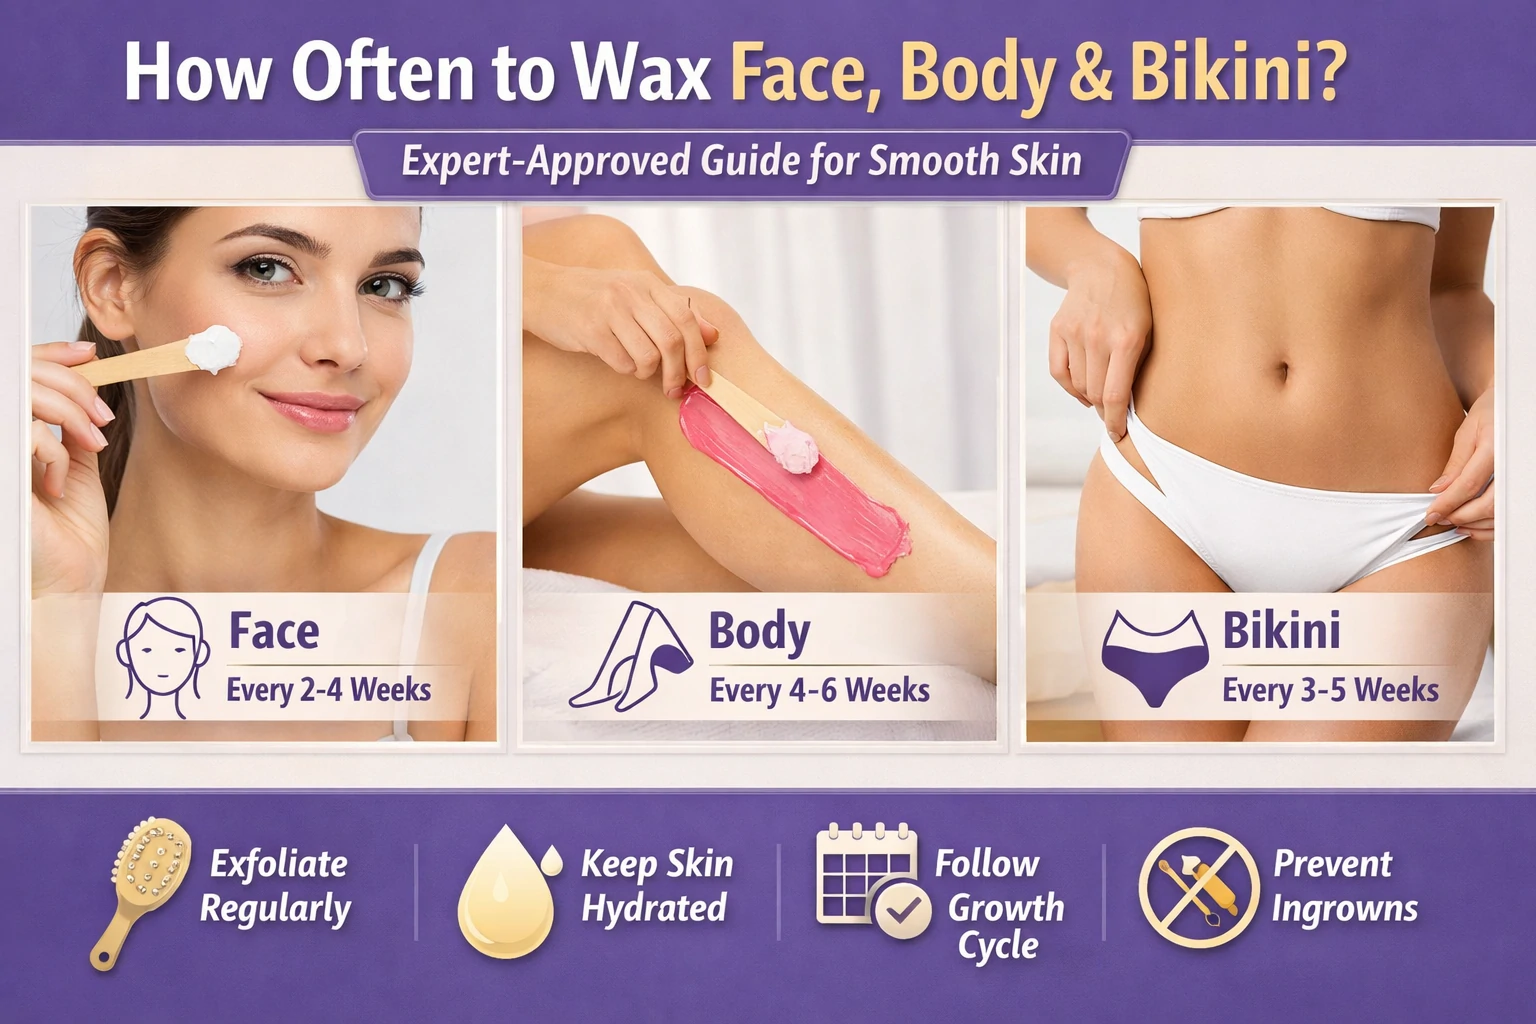
5. You’re Waxing at the Wrong Time
Timing plays a bigger role in waxing success than most people realize. While waxing can technically be done anytime, skin sensitivity fluctuates based on treatments, hormones, and recent procedures—directly affecting pain levels and irritation risk.
Skincare expert Mikelle Brown advises stopping retinoids and chemical exfoliants at least five days before waxing. These actives thin the skin by accelerating cell turnover, making it more vulnerable to tearing or post-wax irritation. If you’ve recently had cosmetic treatments such as Botox or dermal fillers, allow a minimum two-week gap before waxing the same area.
Hormonal timing matters too:
- Pain Threshold: Waxing during your menstrual cycle is safe, but nerve sensitivity is typically higher.
- Comfort Level: If you’re pain-sensitive, scheduling outside this window leads to a smoother experience.
Aligning your waxing routine with your skin’s condition helps protect the barrier, reduce discomfort, and deliver cleaner, more professional results at home.
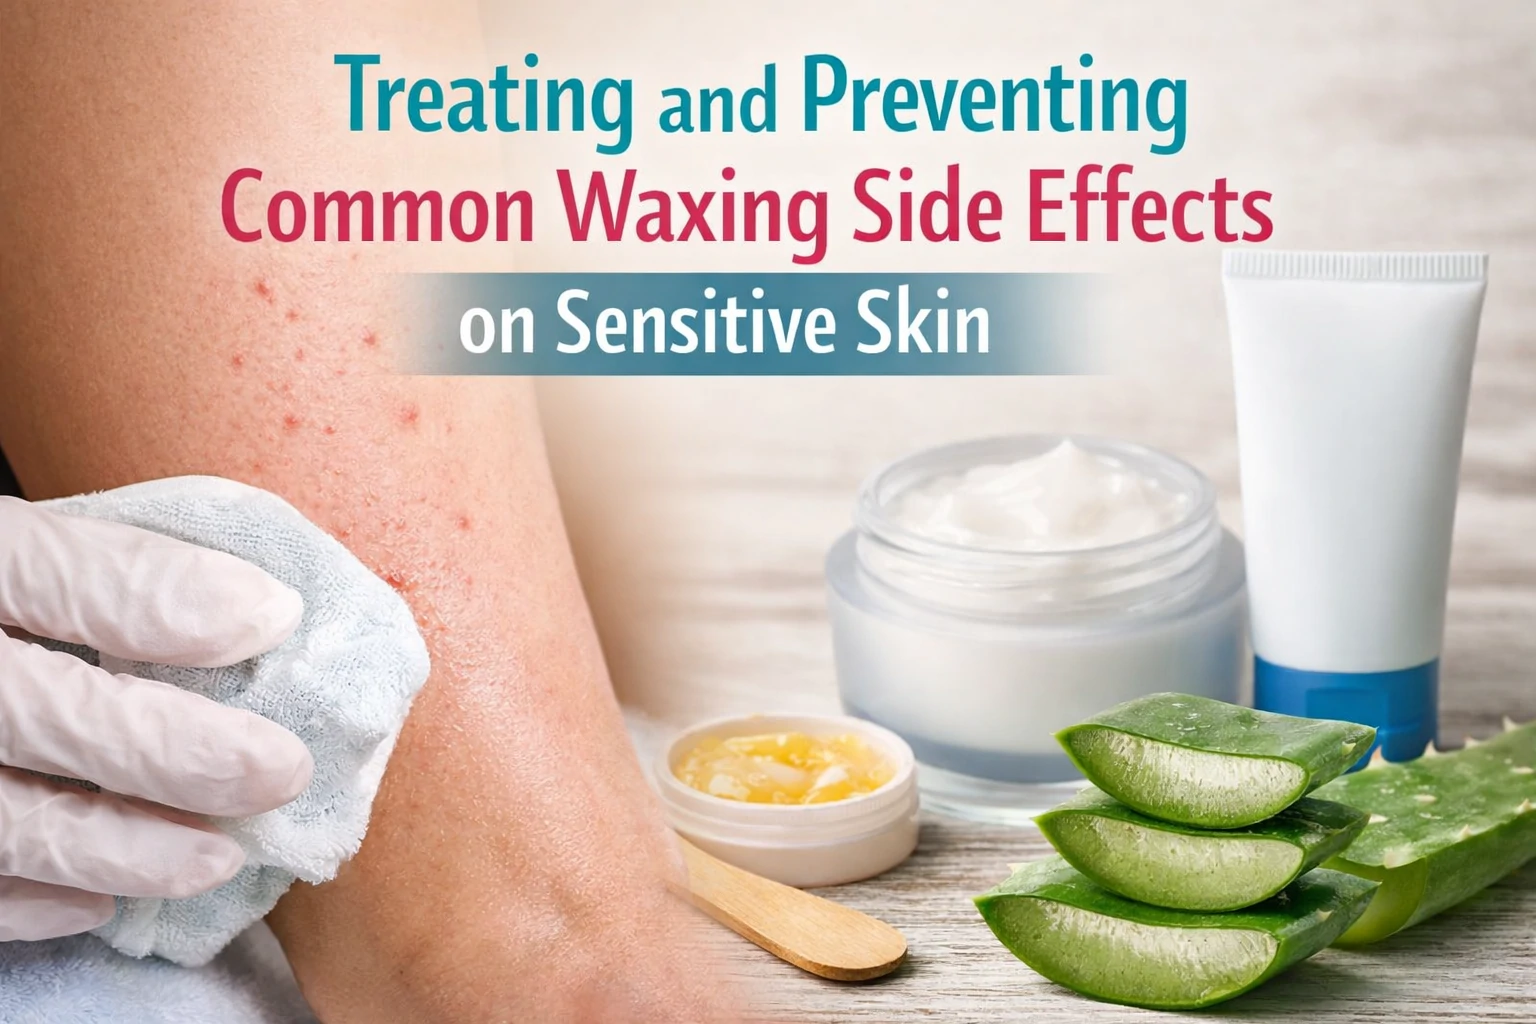
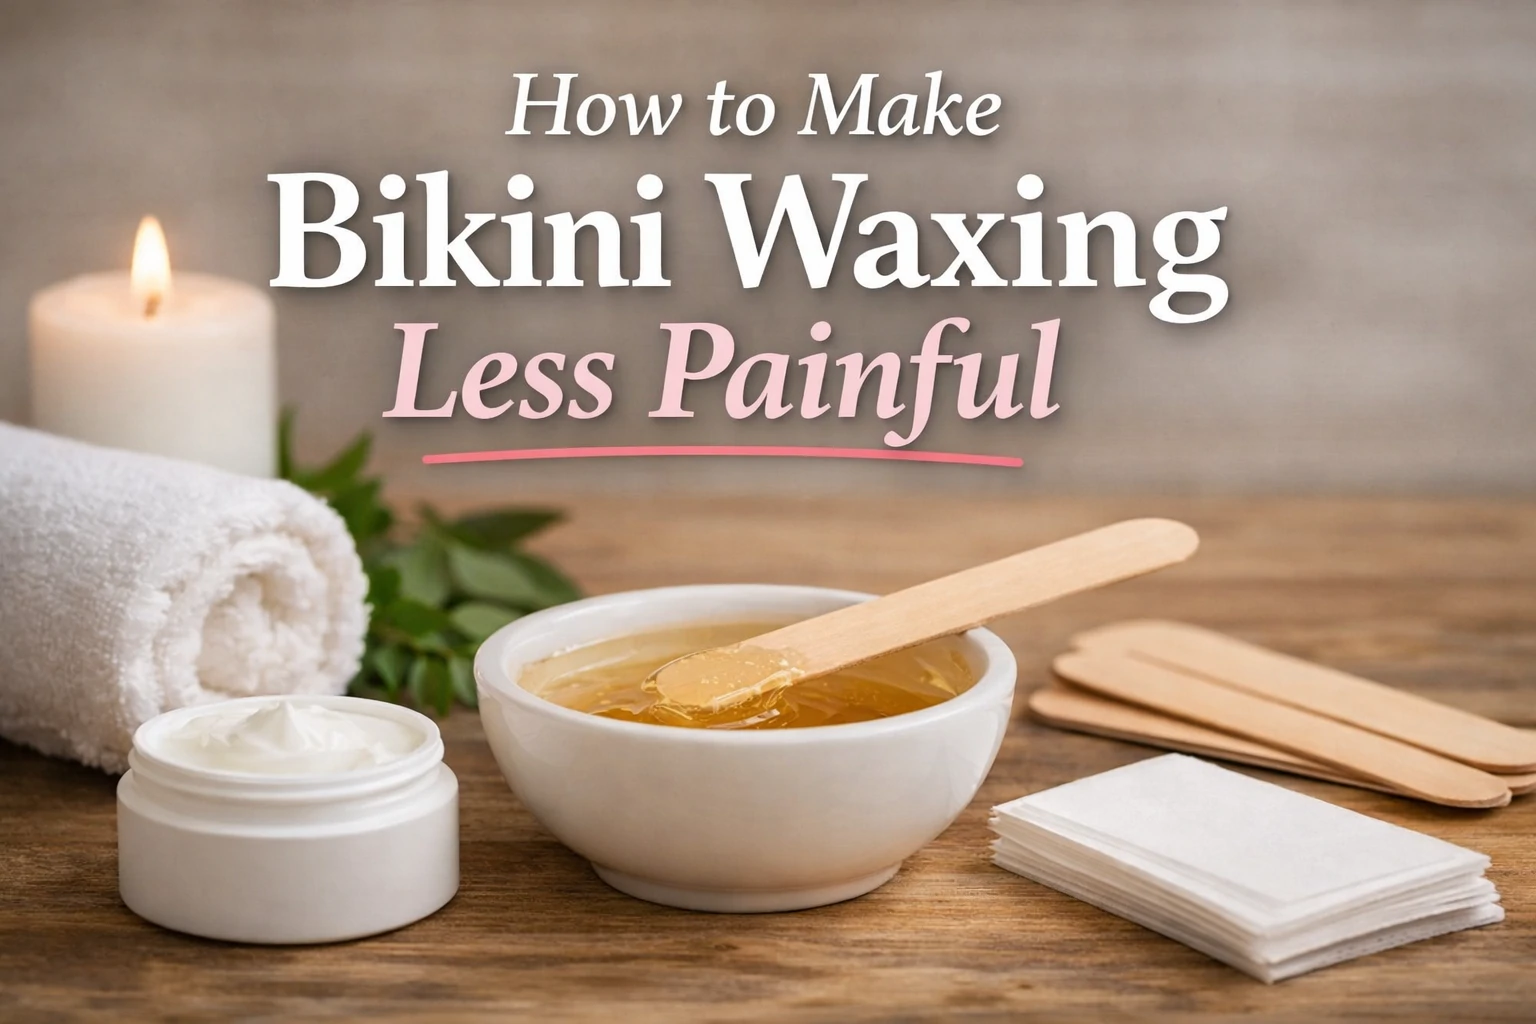
6. You’re Skipping Aftercare
Waxing doesn’t end when the hair is removed. Skipping aftercare can compromise skin recovery and increase the risk of ingrown hairs. Esthetician Uzzardi recommends gentle exfoliation a few times per week—using products like Fur’s Silk Scrub—to prevent dead skin buildup that traps new hair growth.
That said, timing is critical. Skincare expert Mikelle Brown advises waiting 24–48 hours post-wax before exfoliating. Freshly waxed skin is vulnerable, and exfoliating too soon can trigger irritation or inflammation.
During the first 24 hours, Skibba highlights a few essential precautions to protect the skin barrier:
- Avoid Heat: Skip hot showers, steam rooms, and hot tubs.
- Limit Sweating: Postpone intense workouts that cause excess perspiration.
- Use Soothing Products: Choose fragrance-free, calming formulas only.
Proper aftercare supports faster healing, smoother regrowth, and healthier skin long after your waxing session ends.
Temperature Control Is Critical
Wax temperature isn’t just about comfort—it directly determines whether hair is removed cleanly or not. From a technical standpoint, wax must reach the right viscosity to wrap around the hair shaft. If it’s too cool, it won’t grip properly. Too hot, and you risk burns, irritation, or post-inflammatory hyperpigmentation.
Professionals agree the ideal texture should resemble thick, flowing honey. To maintain this consistency, a dedicated wax warmer is far more reliable than improvised heating methods. Digital warmers keep the temperature stable throughout the session, preventing performance drops caused by heat fluctuation.
Use these checks to ensure safe application:
- Patch Test: Apply a small amount to the inner wrist to assess heat tolerance.
- Texture Check: Wax should move slowly—not runny or watery.
- Set Timing (Hard Wax): It should cool evenly and harden while maintaining strong hair grip.
Precise temperature control protects the skin barrier and ensures hair is removed efficiently from the root, not broken at the surface.
Choosing the Right Formula: Synthetic vs. Natural Wax
DIY waxing success also depends on the chemical formulation of the wax itself. Most products fall into two categories: natural (rosin-based) and synthetic formulas. Understanding the difference helps prevent irritation, allergic reactions, and unnecessary skin trauma.
Natural waxes typically use pine resin (rosin), known for its strong adhesion. While effective for thick hair, this ingredient can trigger contact dermatitis in sensitive skin types. Synthetic waxes—such as those used by professional brands like Starpil—are engineered to be more hypoallergenic. They usually melt at lower temperatures, reducing the risk of burns and post-wax inflammation.
Key factors to consider:
- Adhesion Strength: Natural wax grips coarse hair well but can be harsh on skin.
- Flexibility: Synthetic wax stays elastic and resists cracking, ideal for curved or flex-prone areas.
- Skin Reactivity: Sensitive skin benefits from plant-residue-free synthetic polymers.
Choosing a formula aligned with your skin profile is essential for smooth results without long-term irritation.
Final Thoughts
Achieving smooth, irritation-free waxing at home comes down to precision, not luck. Most DIY waxing failures stem from avoidable factors—incorrect hair length, unstable wax temperature, poor timing, or ignoring natural hair growth patterns. When these details are overlooked, hair breaks instead of lifting cleanly from the follicle.
Professional results require a controlled approach: choosing the right wax formula for your hair and skin type, maintaining proper temperature, and applying correct technique with confidence. Understanding whether synthetic or natural wax suits your skin profile helps reduce irritation and long-term sensitivity.
Just as important, aftercare should never be skipped. Clean skin, proper recovery time, and consistent exfoliation play a critical role in preventing ingrown hairs and supporting healthy regrowth.
When you treat DIY waxing as a skin procedure—not a shortcut—you protect your skin barrier while improving results over time. With the right knowledge and discipline, at-home waxing can be safe, effective, and comparable to professional spa treatments.
You might also like

 Acne
Acne Anti-Aging
 Business
 Digital Marketing
 Economics
 Exfoliation
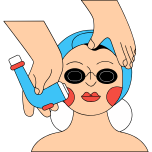 Hair Removal
 Movies
 Personal Finance
 Websites